The cloud version of Jira is a good product, and you can easily integrate it with various tools and technologies. And the best thing? It only takes a few minutes – all thanks to the powerful REST API the solution offers
Jira Cloud + Oracle APEX apps – step-by-step guide
First, you’ll need a Jira Cloud account. You can create a free (temporary) account, and this is what we will use here for the purposes of this article.
My test account is jiracloudtest01.atlassian.net, but use your own account details whenever I mention it throughout the article.
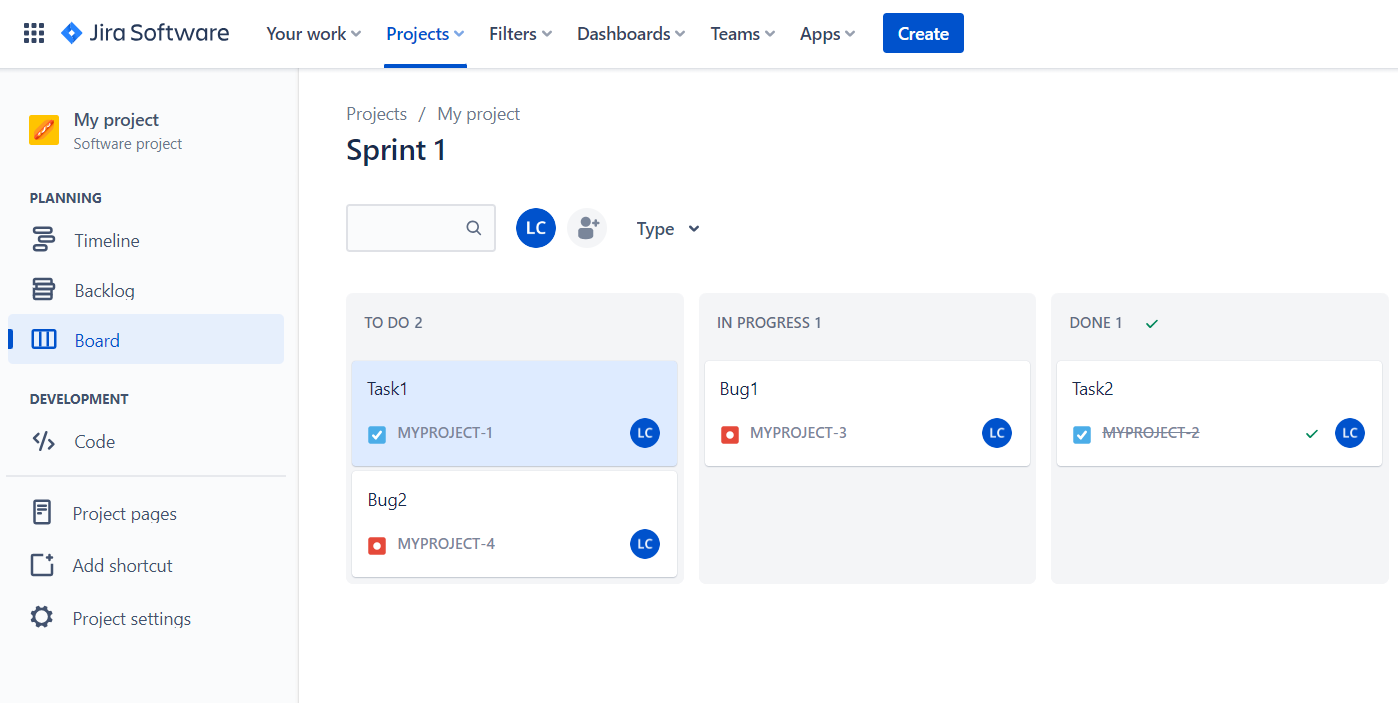
You’ll also need a project. I created a sample project using the Scrum template. There are several Tasks and Bugs in my sprint in different statuses. It looks like this:
Now, you need to download the list of tasks and bugs from your project to your APEX application. To do this, you will use REST Data Sources that allow developers to access REST services and then use them as a data source in APEX components. Simply put, you will call JIRA REST API and display the response using an interactive report.
Here’s how to do this:
1. Go to Shared Components → Data Sources → REST Data Sources and click Create.
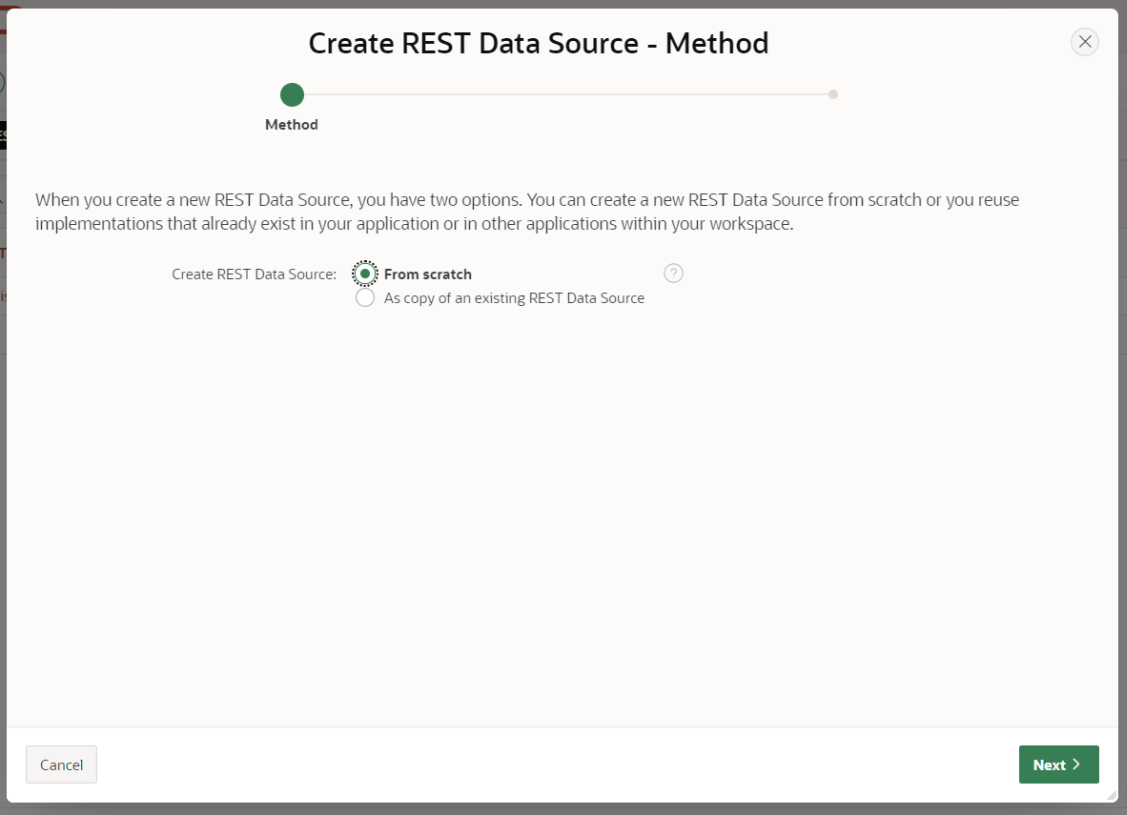
2. Select Create REST Data Source – Method and choose From scratch.
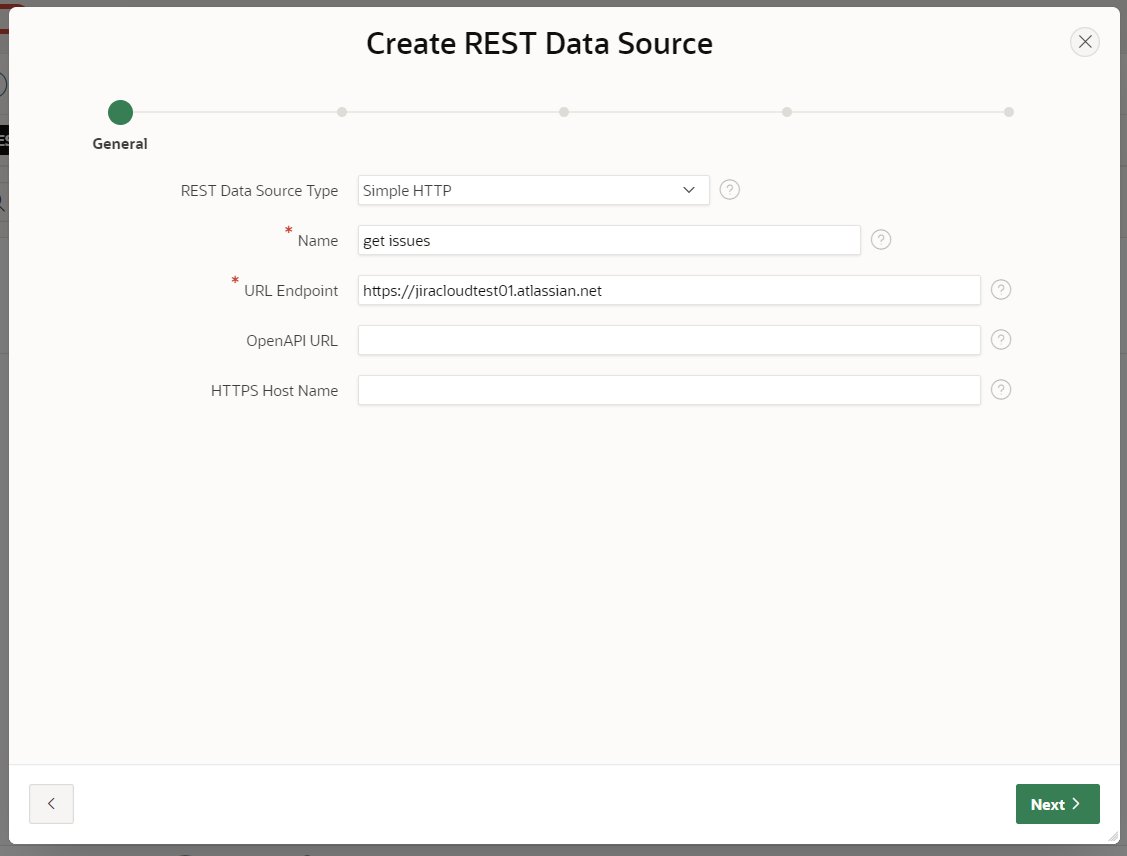
3. Now, create the REST Data Source using the following details on the first tab:
REST Data Source Type: Simple HTTP
Name: get issues
URL Endpoint: https://jiracloudtest01.atlassian.net (use your Jira Cloud account here)
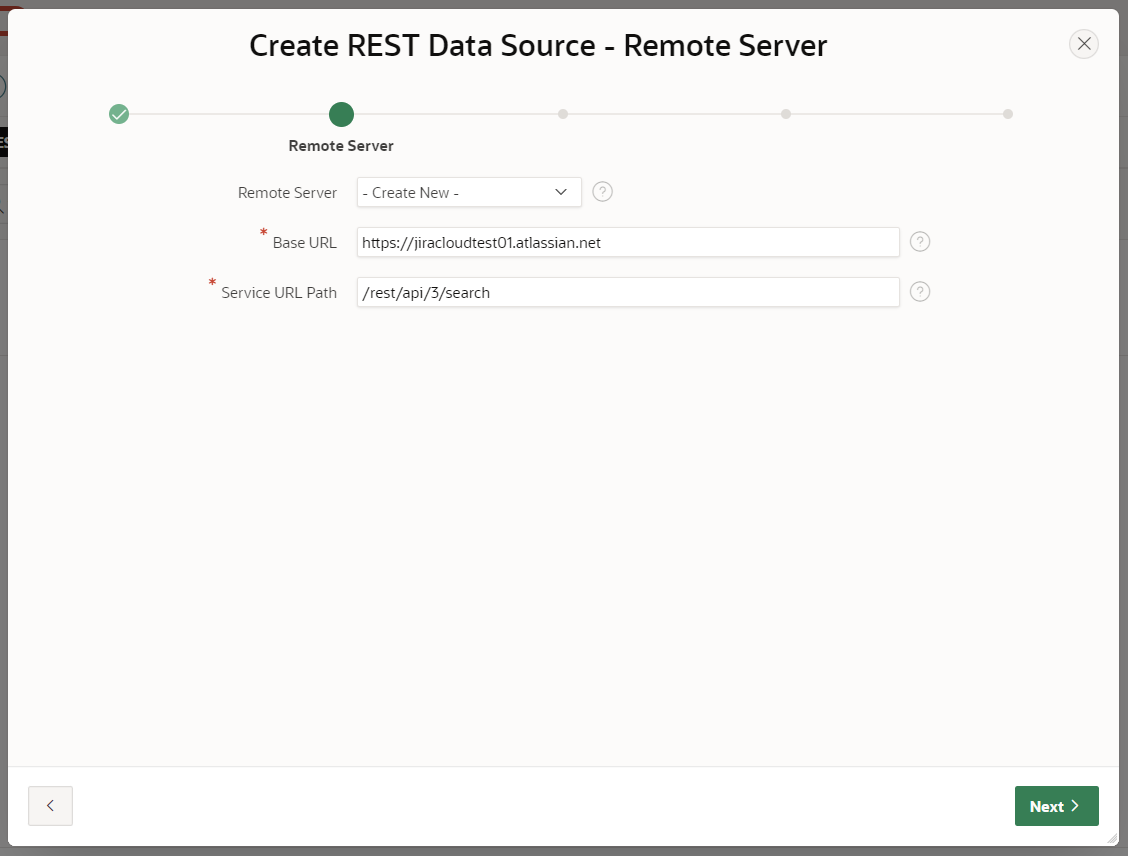
4. Setup the Create REST Data Source – Remote Server tab using the following information:
Base URL: https://jiracloudtest01.atlassian.net (again, use your account here)
Service URL Path: /rest/api/3/search
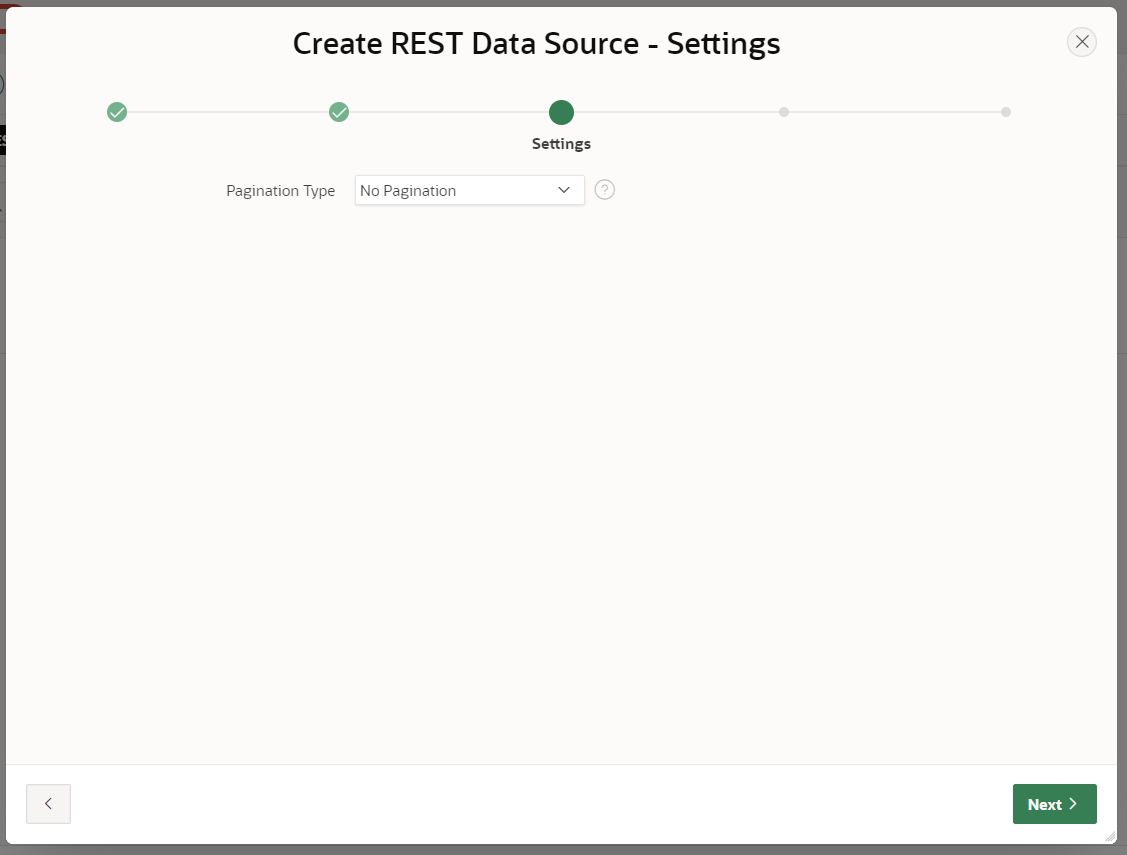
5. Go through the Create REST Data Source – Settings tab and choose No Pagination as the Pagination Type
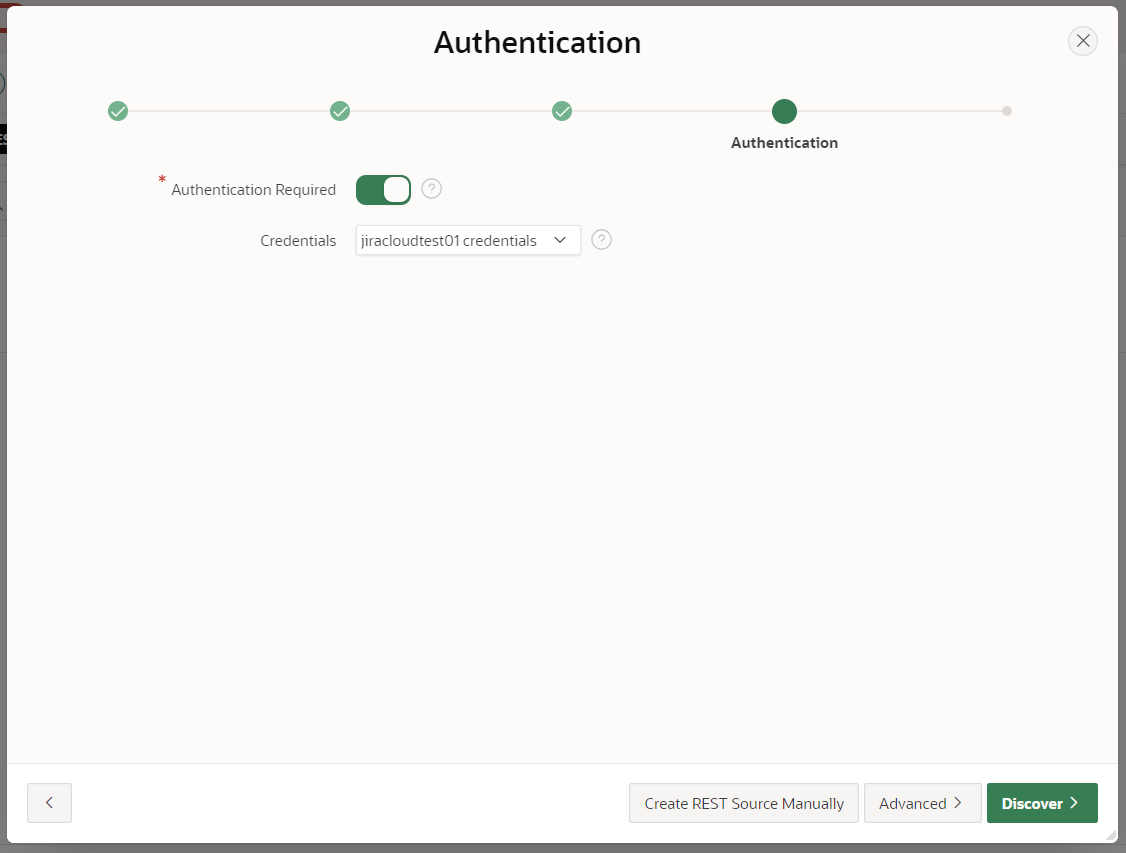
6. In the Authentication tab, specify that authentication is required by using the switch
Choose the option you want from the list. You can define your credentials in App Builder → Workspace Utilities → All Workspace Utilities → Web Credentials.
When you’re done, click the Discover button.
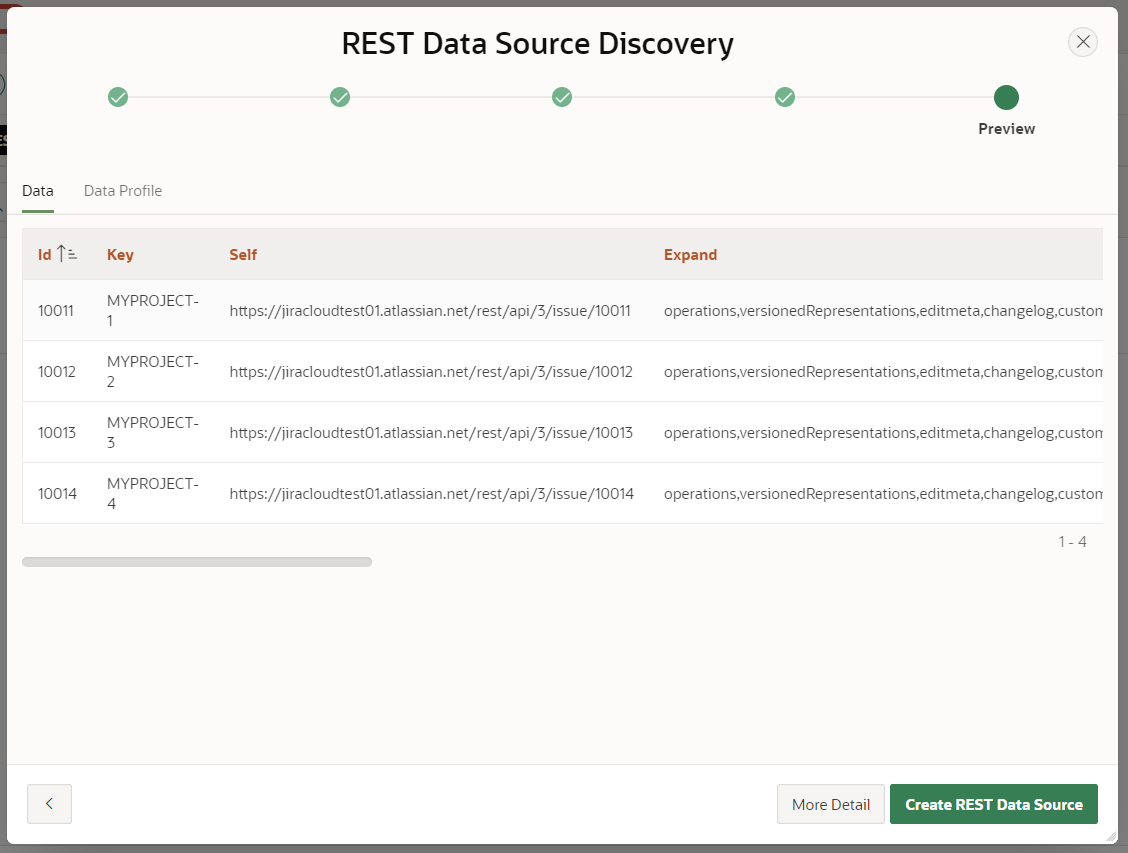
7. The REST Data Source Discovery window displays the response of the REST service. It should look like this:
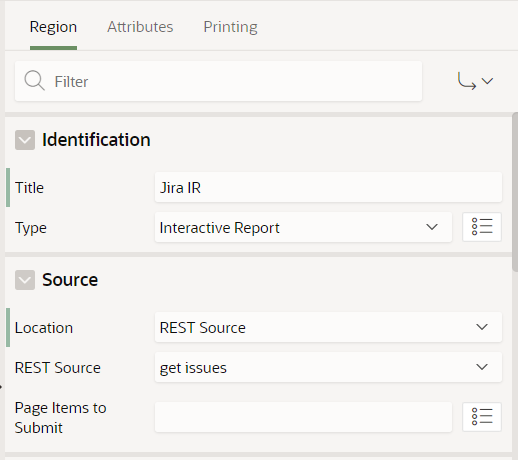
8. Next, you will need to create an interactive report in your application
Go to the Location section, and select REST Source in the report settings. Choose get issues from the REST Source drop-down list.
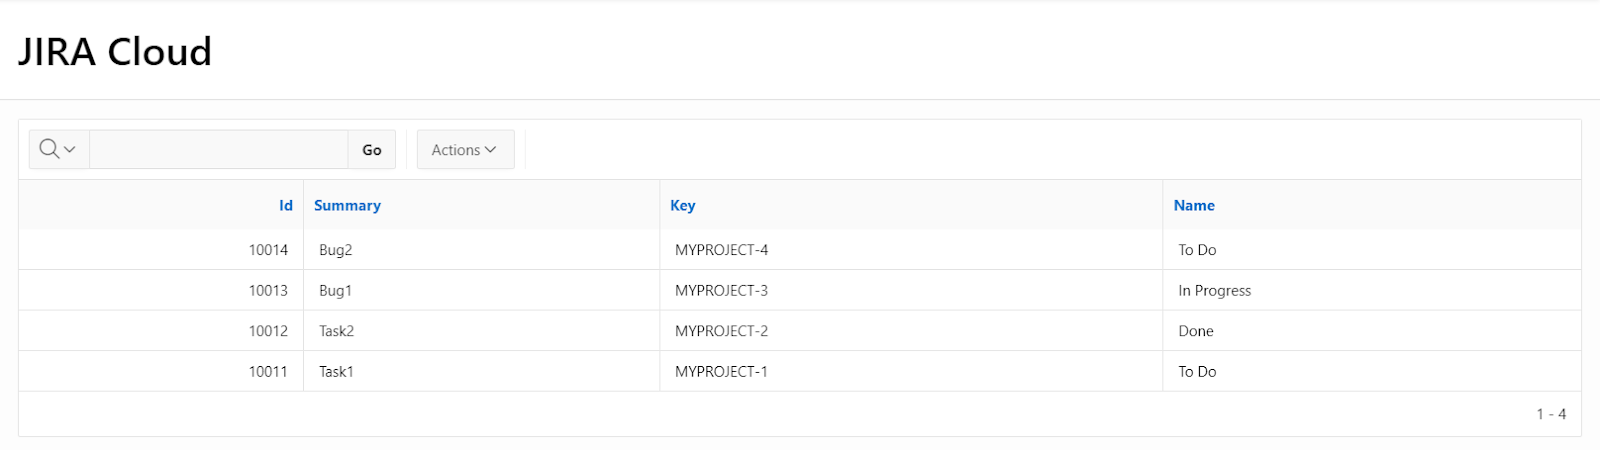
The report will display a list of data from Jira. You can adapt the report to your needs by selecting the appropriate columns. In my case, the end result looks like this: